Just some markers and a mug “they” said. Just put it in the oven they said. Here is my DIY personalized mug…
Supplies:
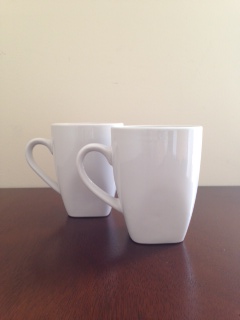
- Coffee Mug(s)
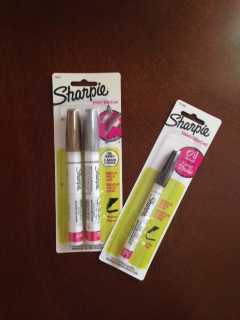
- Oil Based Sharpie(s)
- Oven
- Letter Stickers (optional)
- Cookie Sheet

Time:
- 10-20 minutes to create
- 1 hour to cook
Directions:
- Wash and dry mug.
- Place Sticker(s) on mug and get creative.
- Dry for 10 minutes and peel sticker off.
- Put in cold oven on a cookie sheet. Turn oven to 350F for 35 minutes. Turn off.
- Keep mugs in oven until cool.
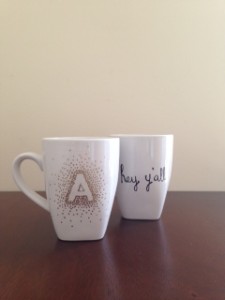
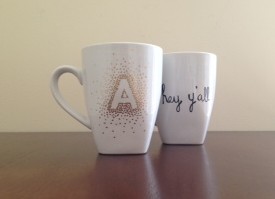
Overall, I was happy with the outcome. Could it have been better? Yes. Should I have done a practice round before crafting this for a gift? Yes. Did my best friend, Amanda, love it? Yes, that’s what best friends are for. Would I do this again? Yes. Do I want to sharpie everything in the house? Duh.
Notes: I did not wash after decorating/cooking in the oven, so I have no idea what they will do. I have heard mixed reviews and that hand washing was the only way to go. If Amanda decides to keep them, I will ask her and update the post.
Another piece of advice: after opening up the sharpies, push down several times on a sheet of paper until the liquid begins to seep to the point.
When I took the sticker off, some of the sharpie liquid had seeped under. So, I had to get a q-tip with nail polish remover on it to remove the sharpie in unwanted places.
EXTRA: I saw several different designs on Pinterest and google. Get creative and take a chance.

2 Comments
Such a cool gift idea. Looks fairly simple and something that even I think I could make. These came out great! All that’s missing is the coffee. 🙂 Cheers!
Thanks, Mike! Definitely a craft for all! And yes, they are missing something… perhaps, some hot chocolate with huge marshmallows! Cheers!