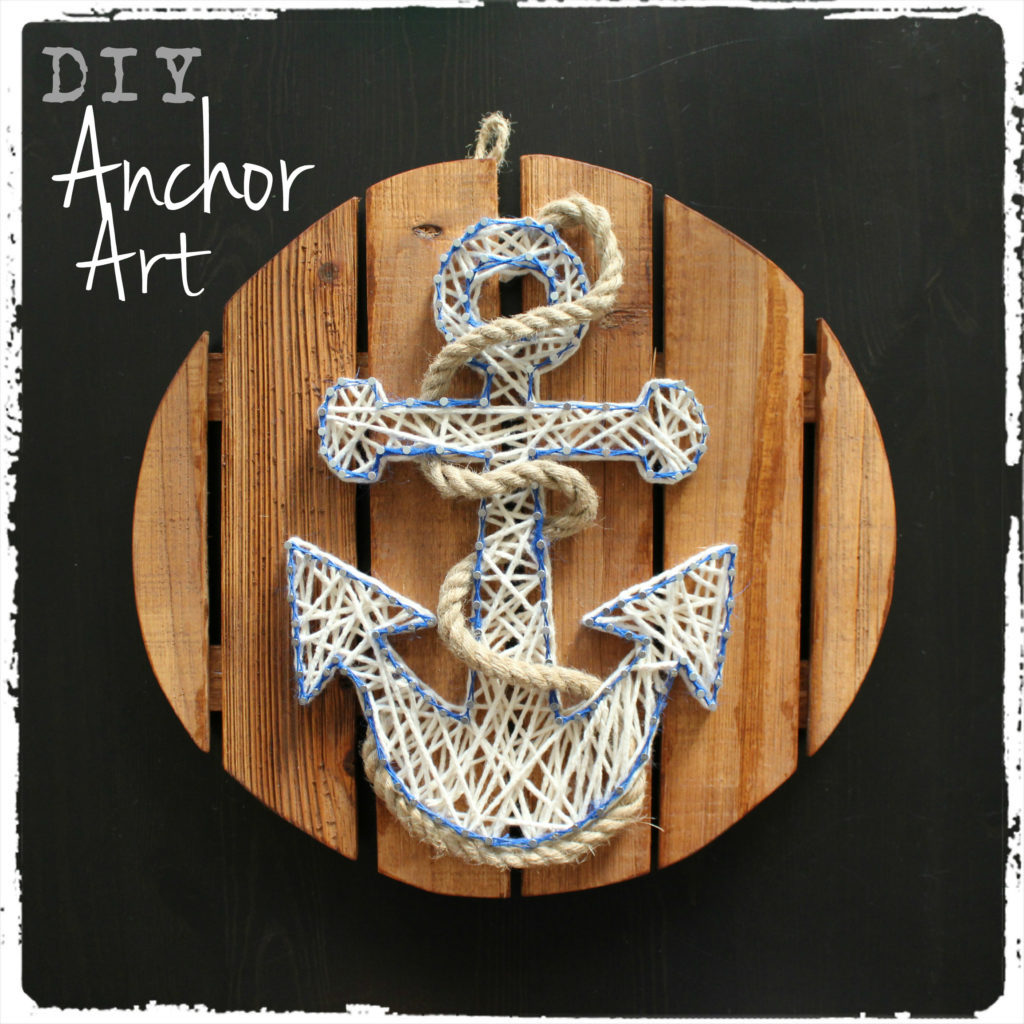
Ahoy! So my longtime friend, Amanda, finally became a Mum. With a little baby boy on the way, I knew I needed to do something crafty for his nautical themed room. There were so many options and cute ideas on Pinterest, but I finally chose a cute anchor design.
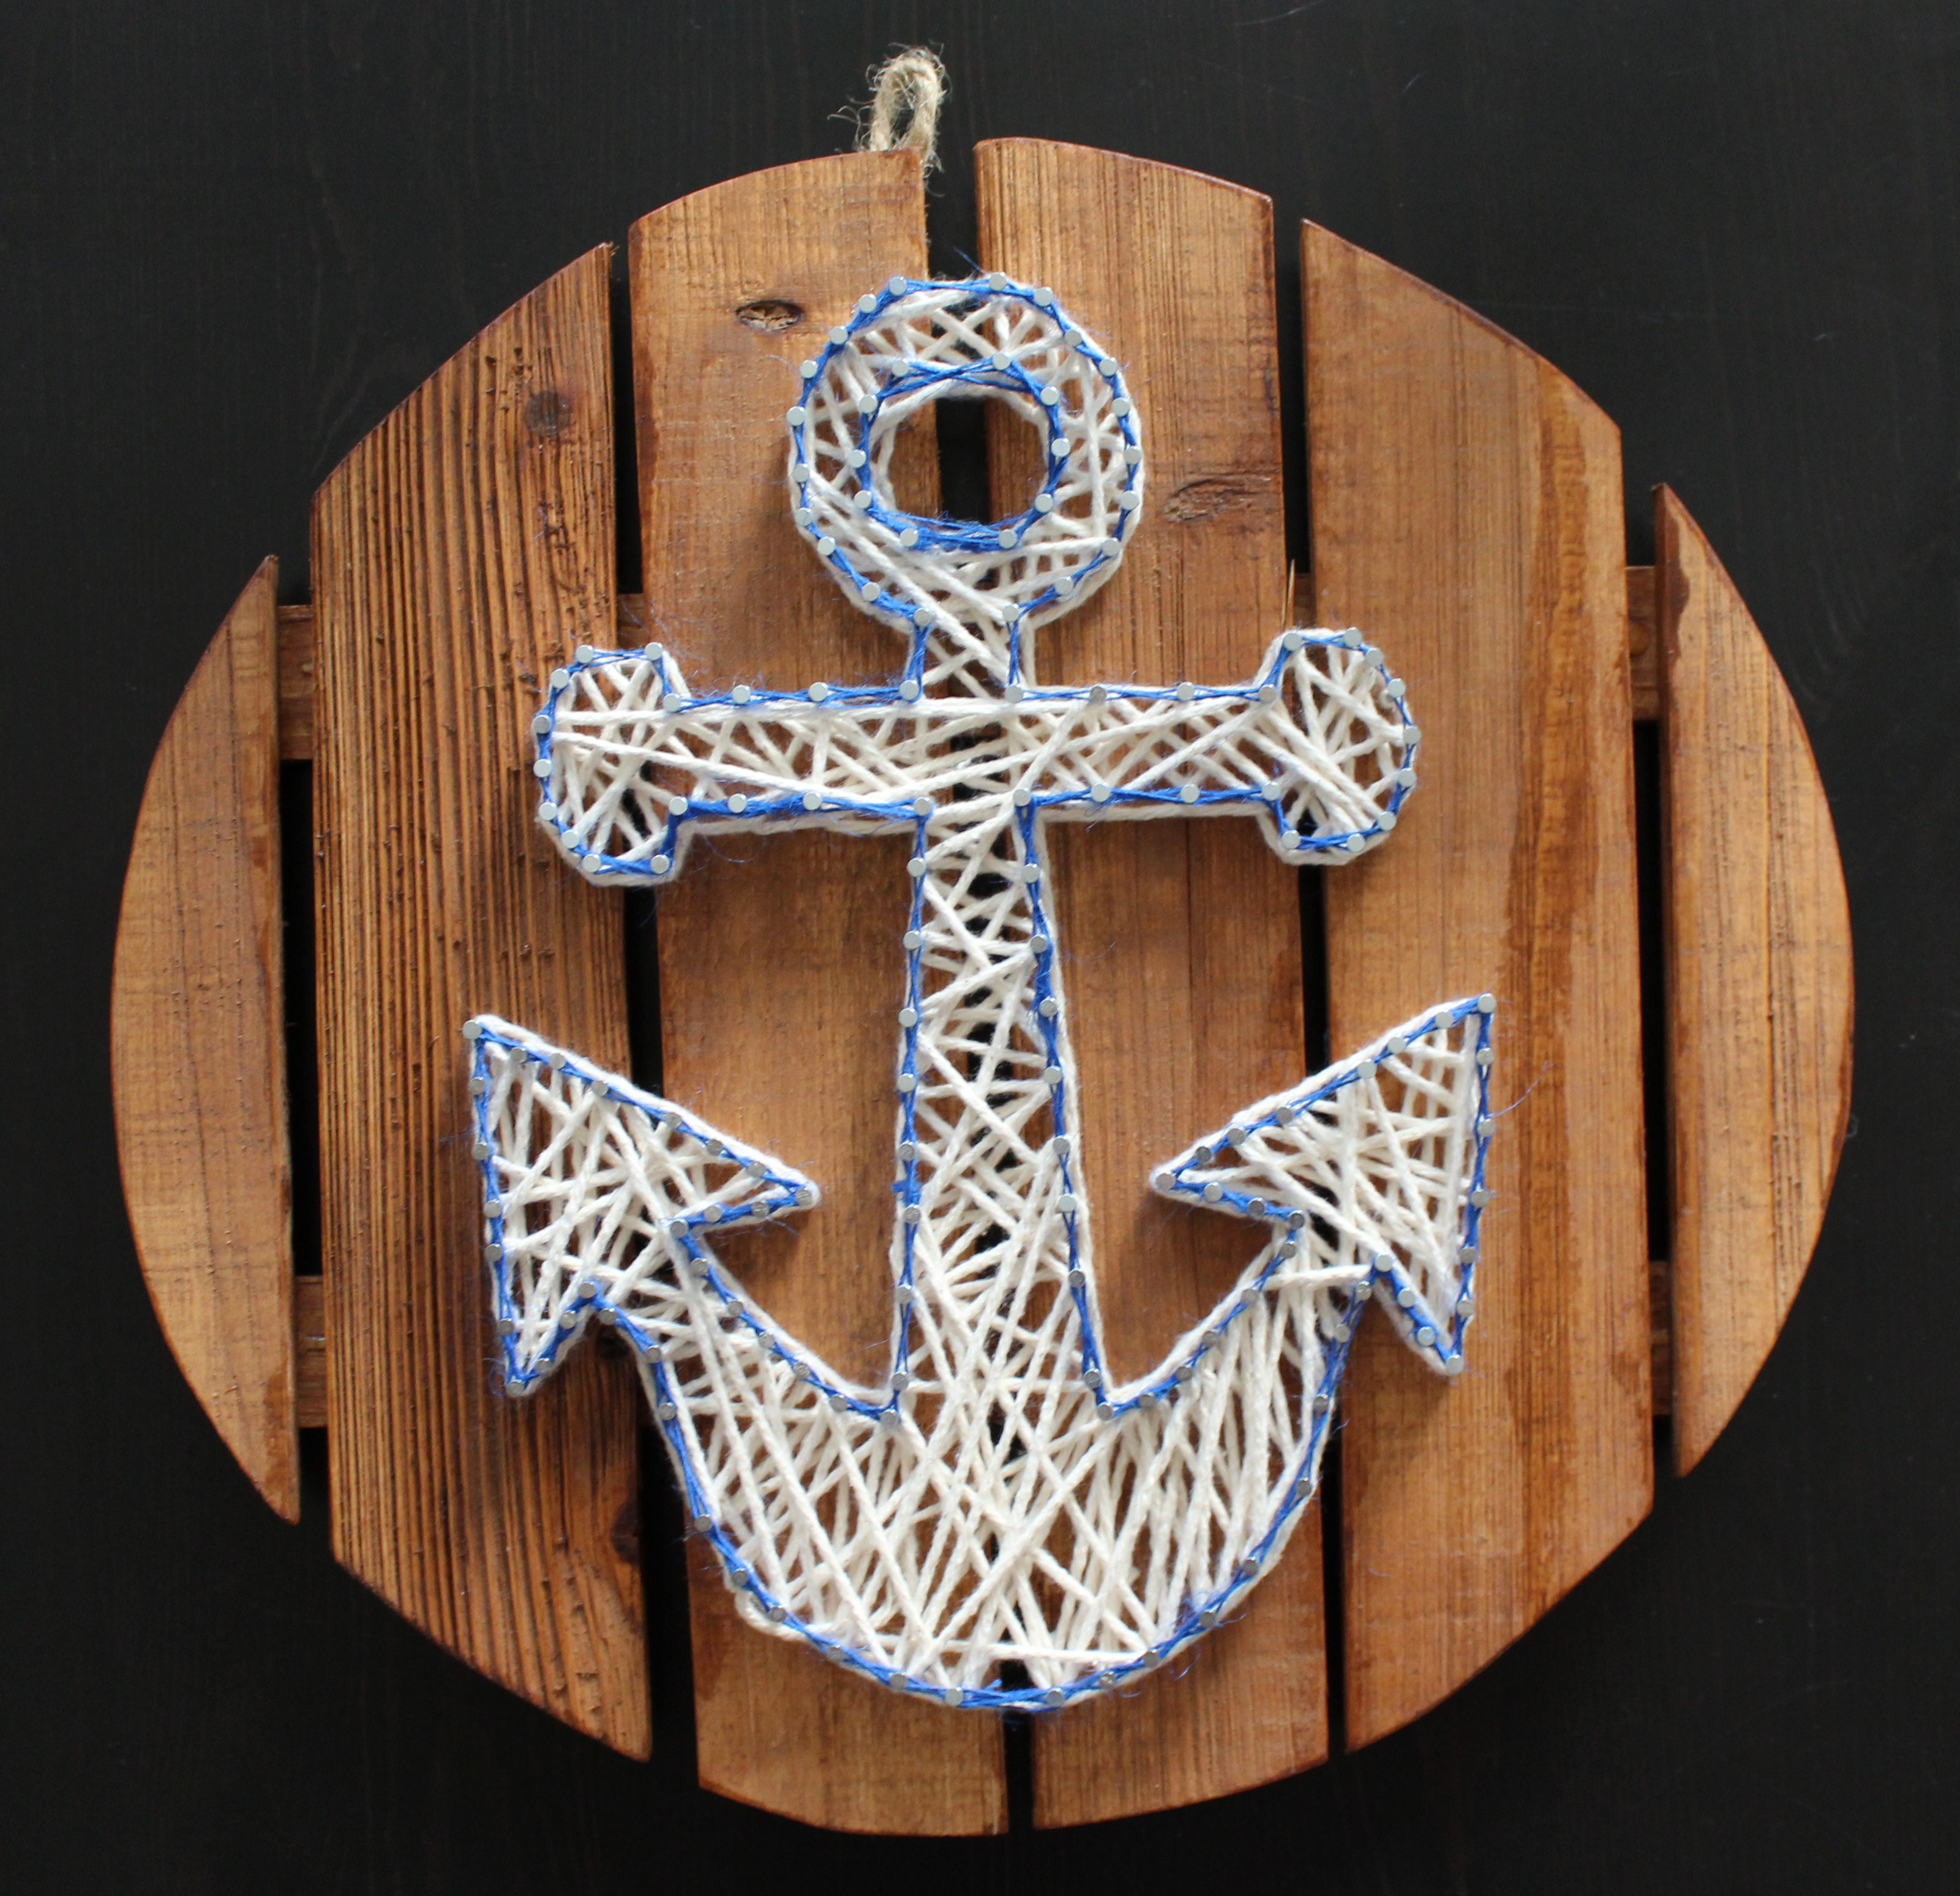
Here is my Twine Anchor DIY:
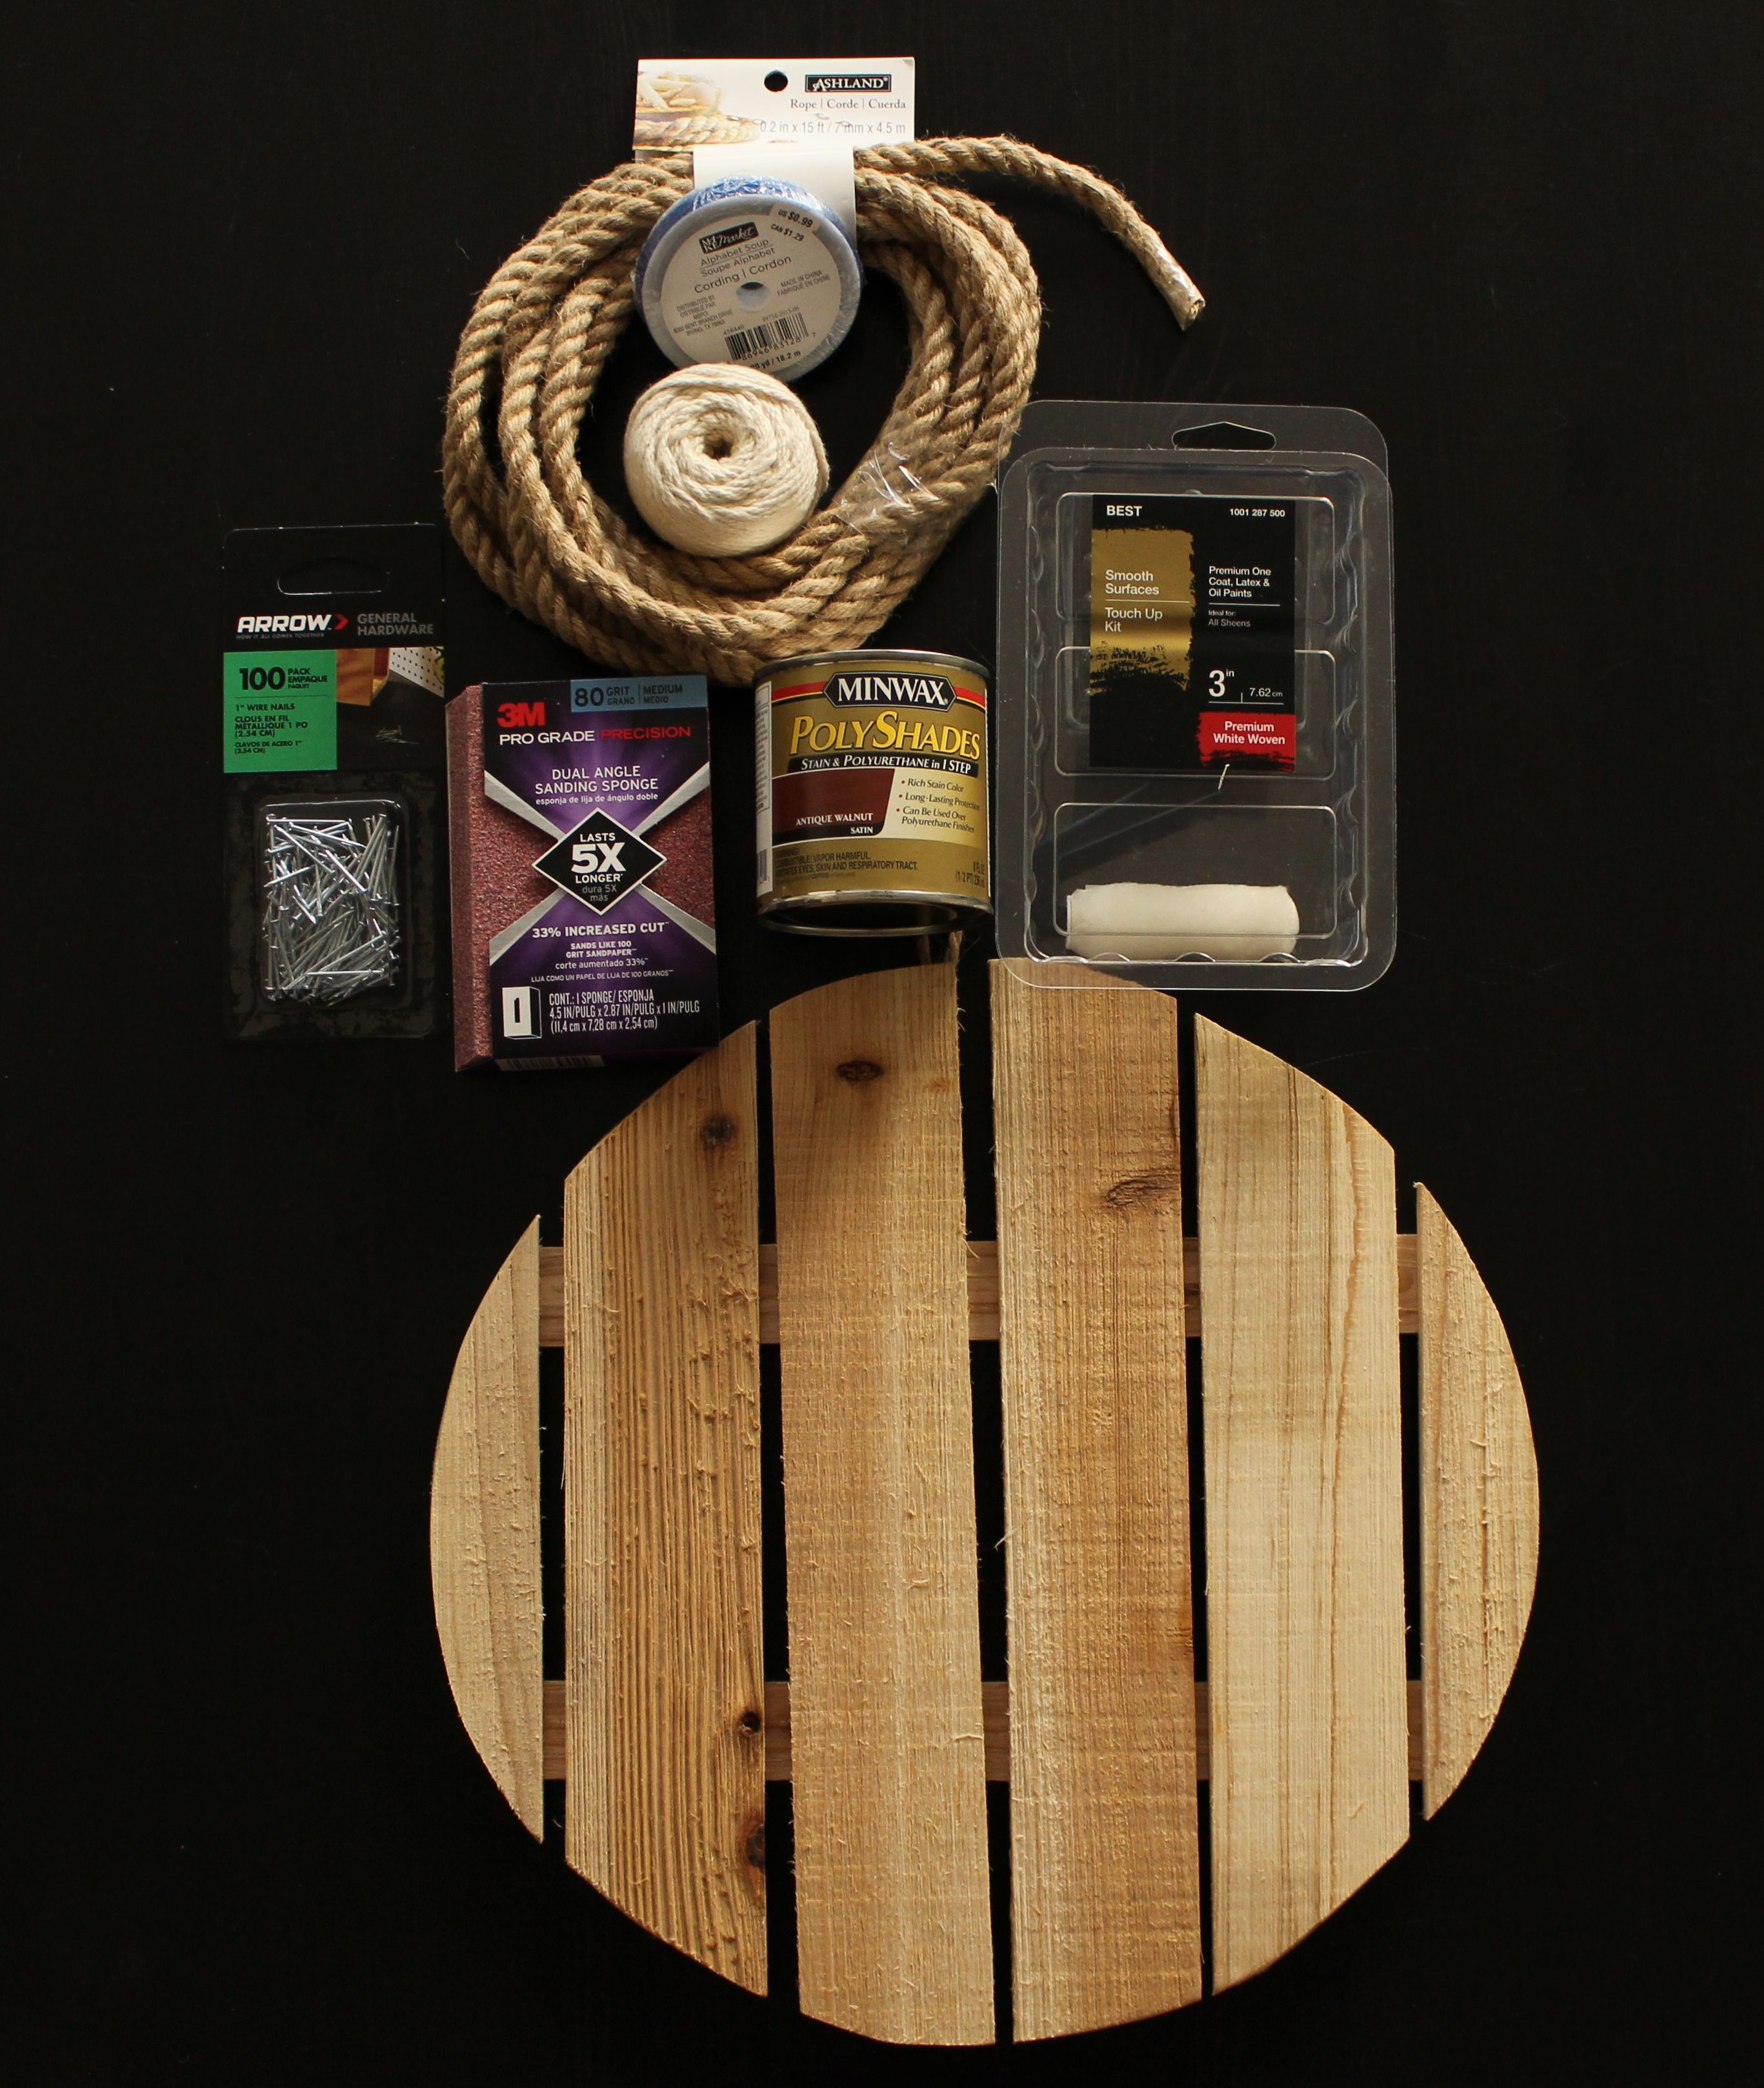
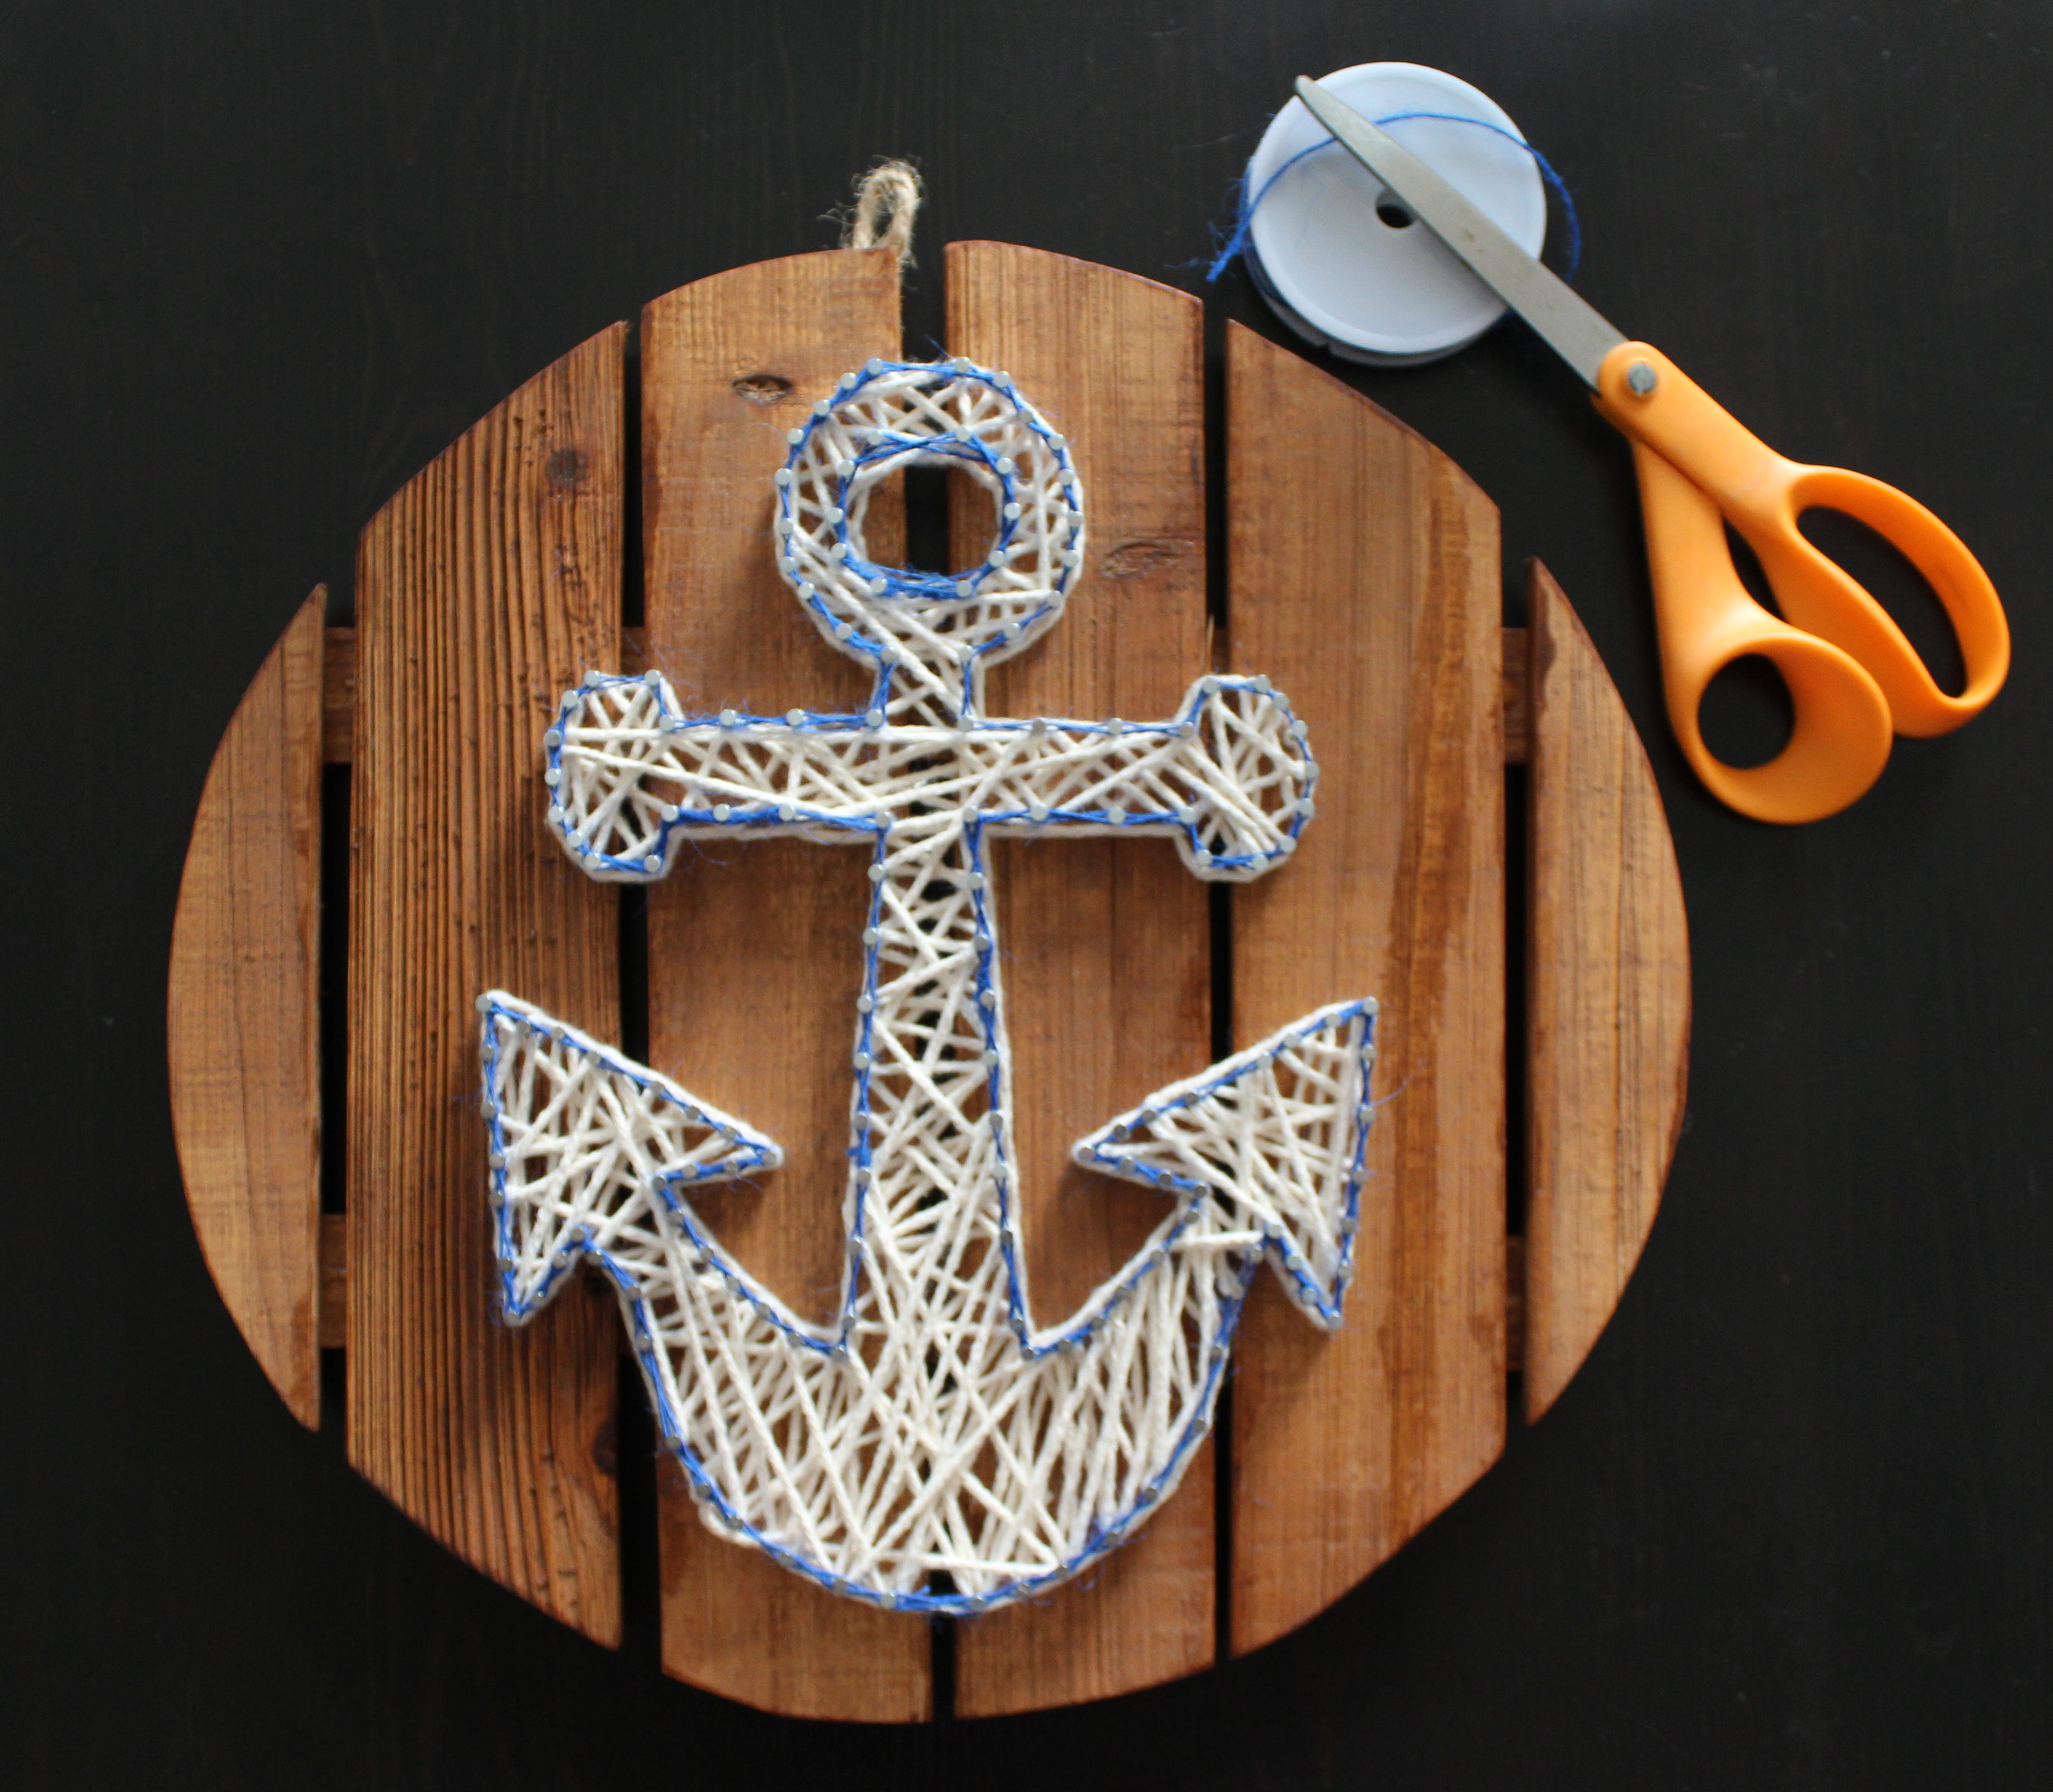
What’s needed:
- Wood platform, shape is preference
- Twine, rope, colored thread
- Nails (200 ct.)
- Hammer
- Sand paper
- Stain
- Newspaper
- Paper + Pen
- Paint brush/roller
Time:
- 2-3 hours to create (not including dry time)
- 24 hours to dry
Directions:
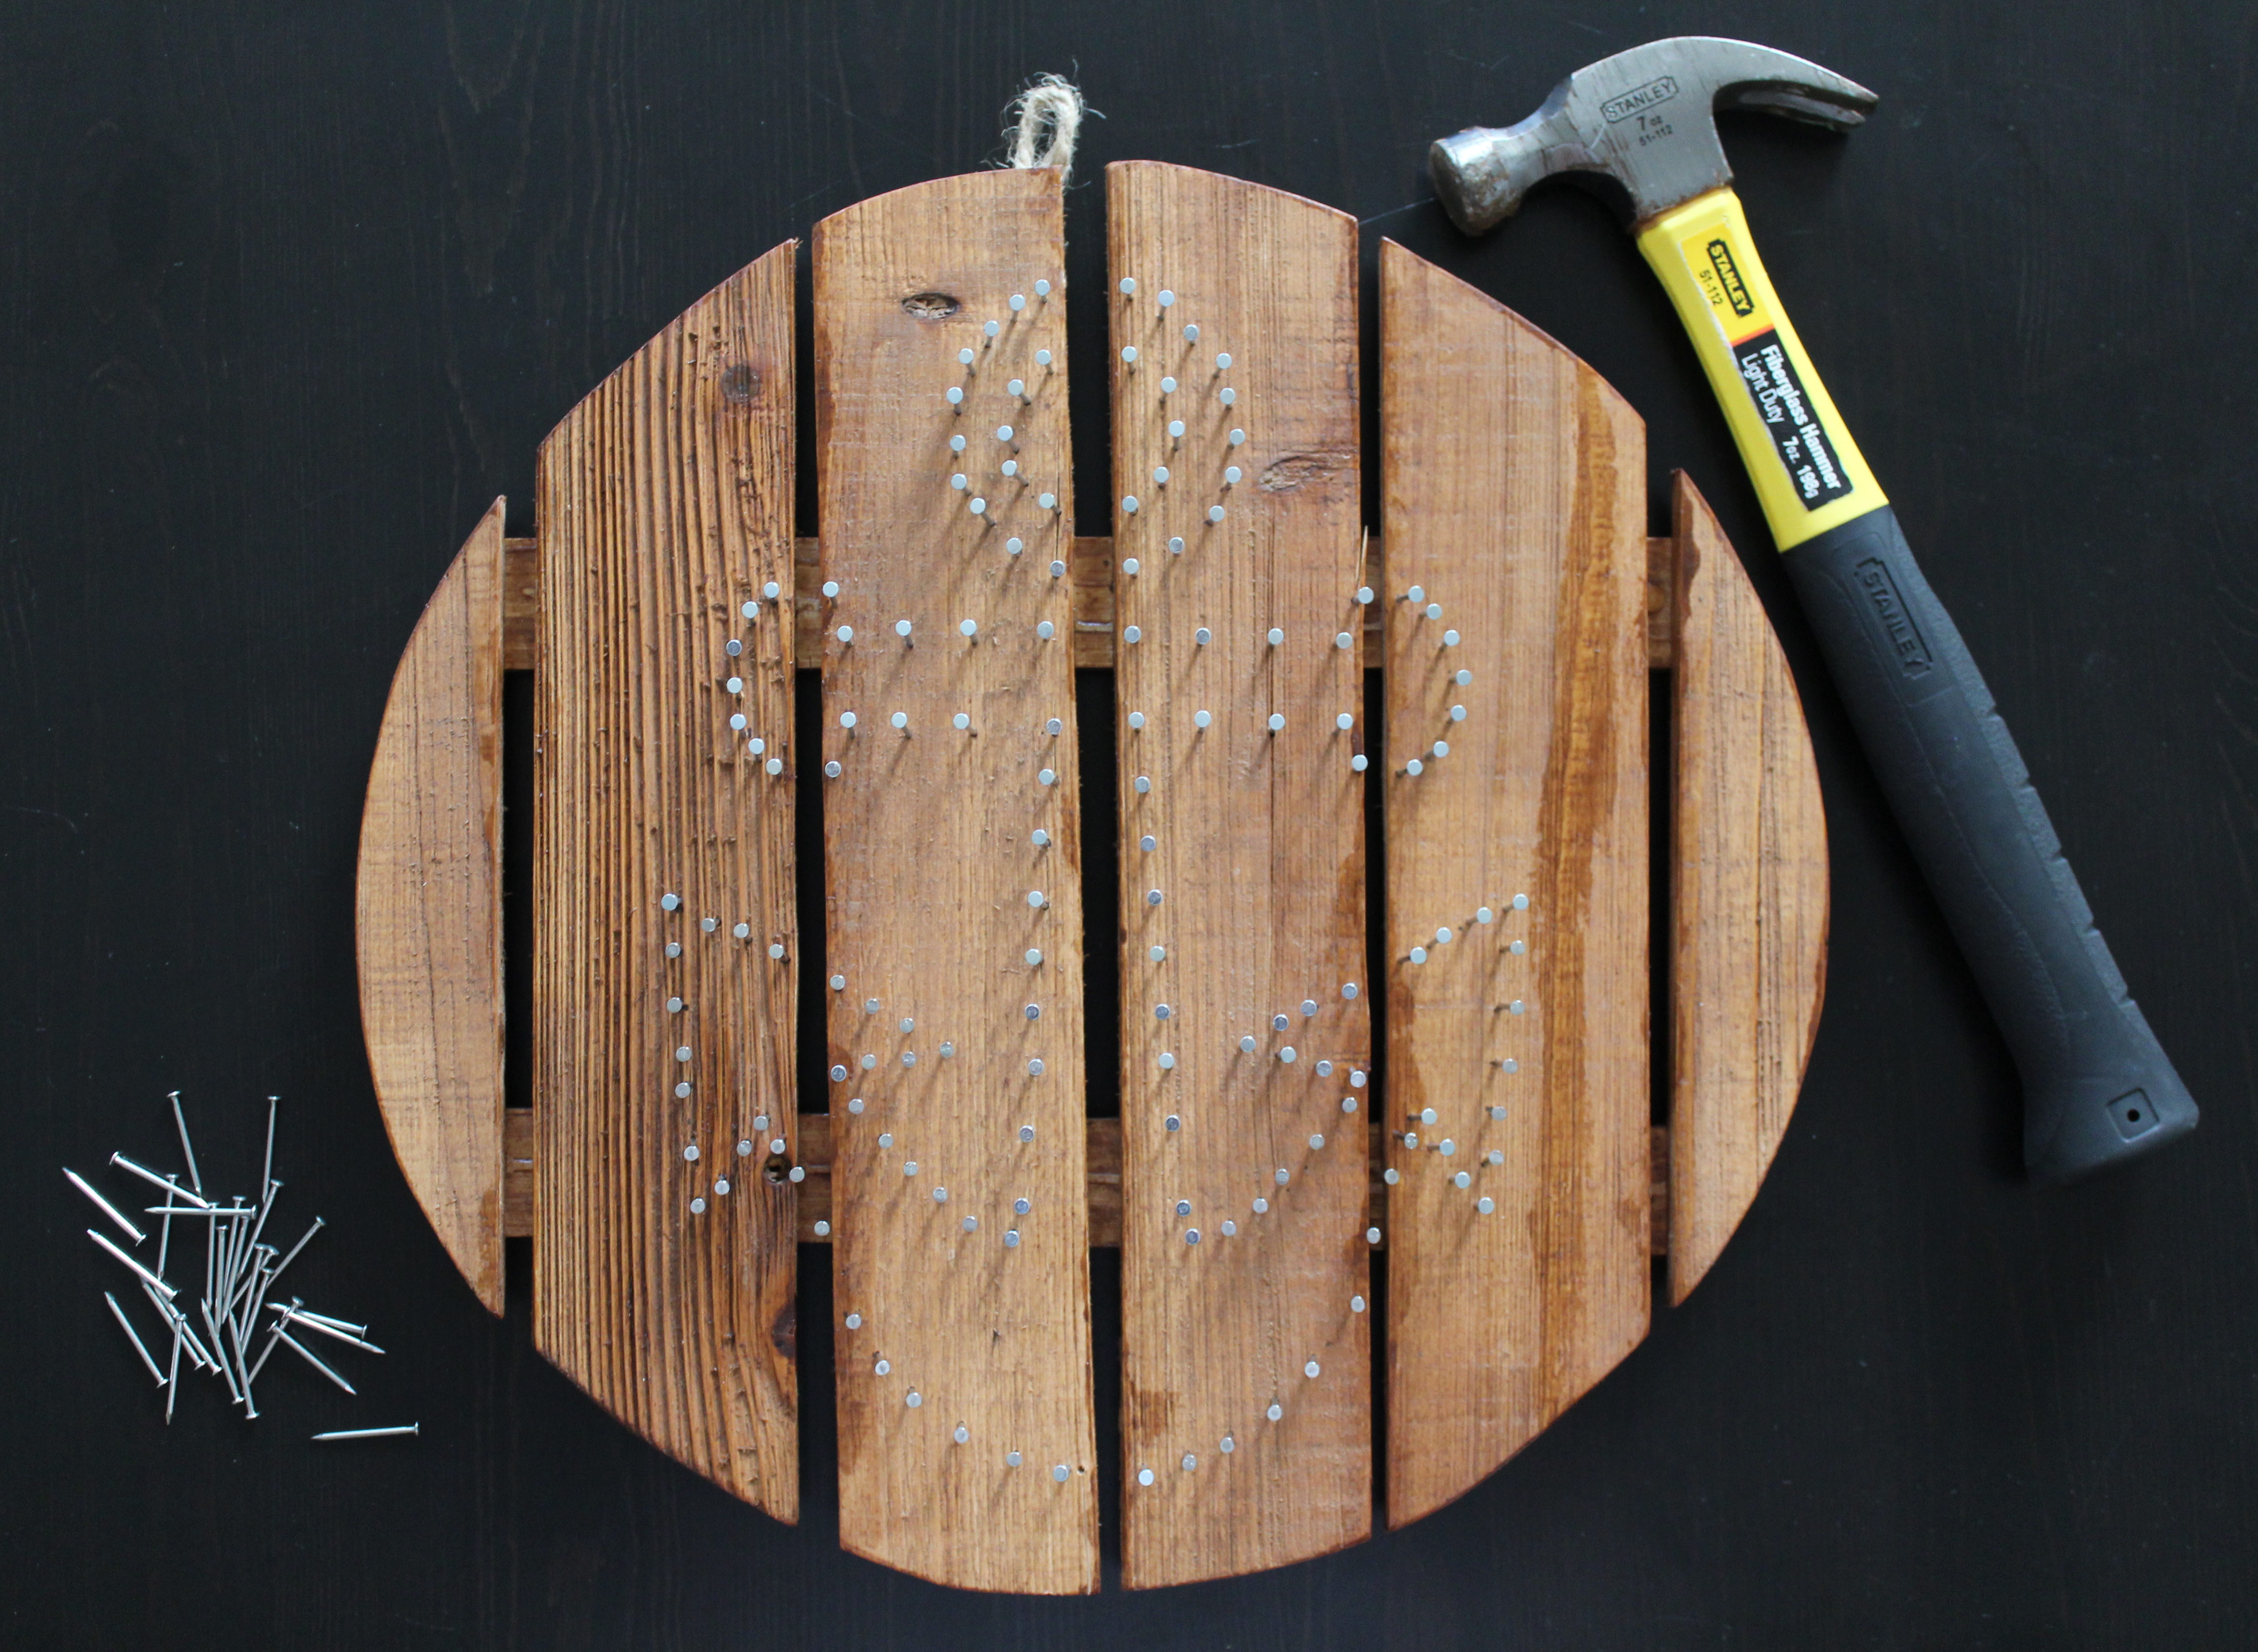
- Sandpaper the wood platform for a smooth finish. Make sure no dust particles are leftover.
- Stain wood, let dry. If needed, do a second coat.
- Print out or draw design on a separate sheet of paper – this will be your layout for the nails.
- Hammer the nails around your anchor, or design of choice.
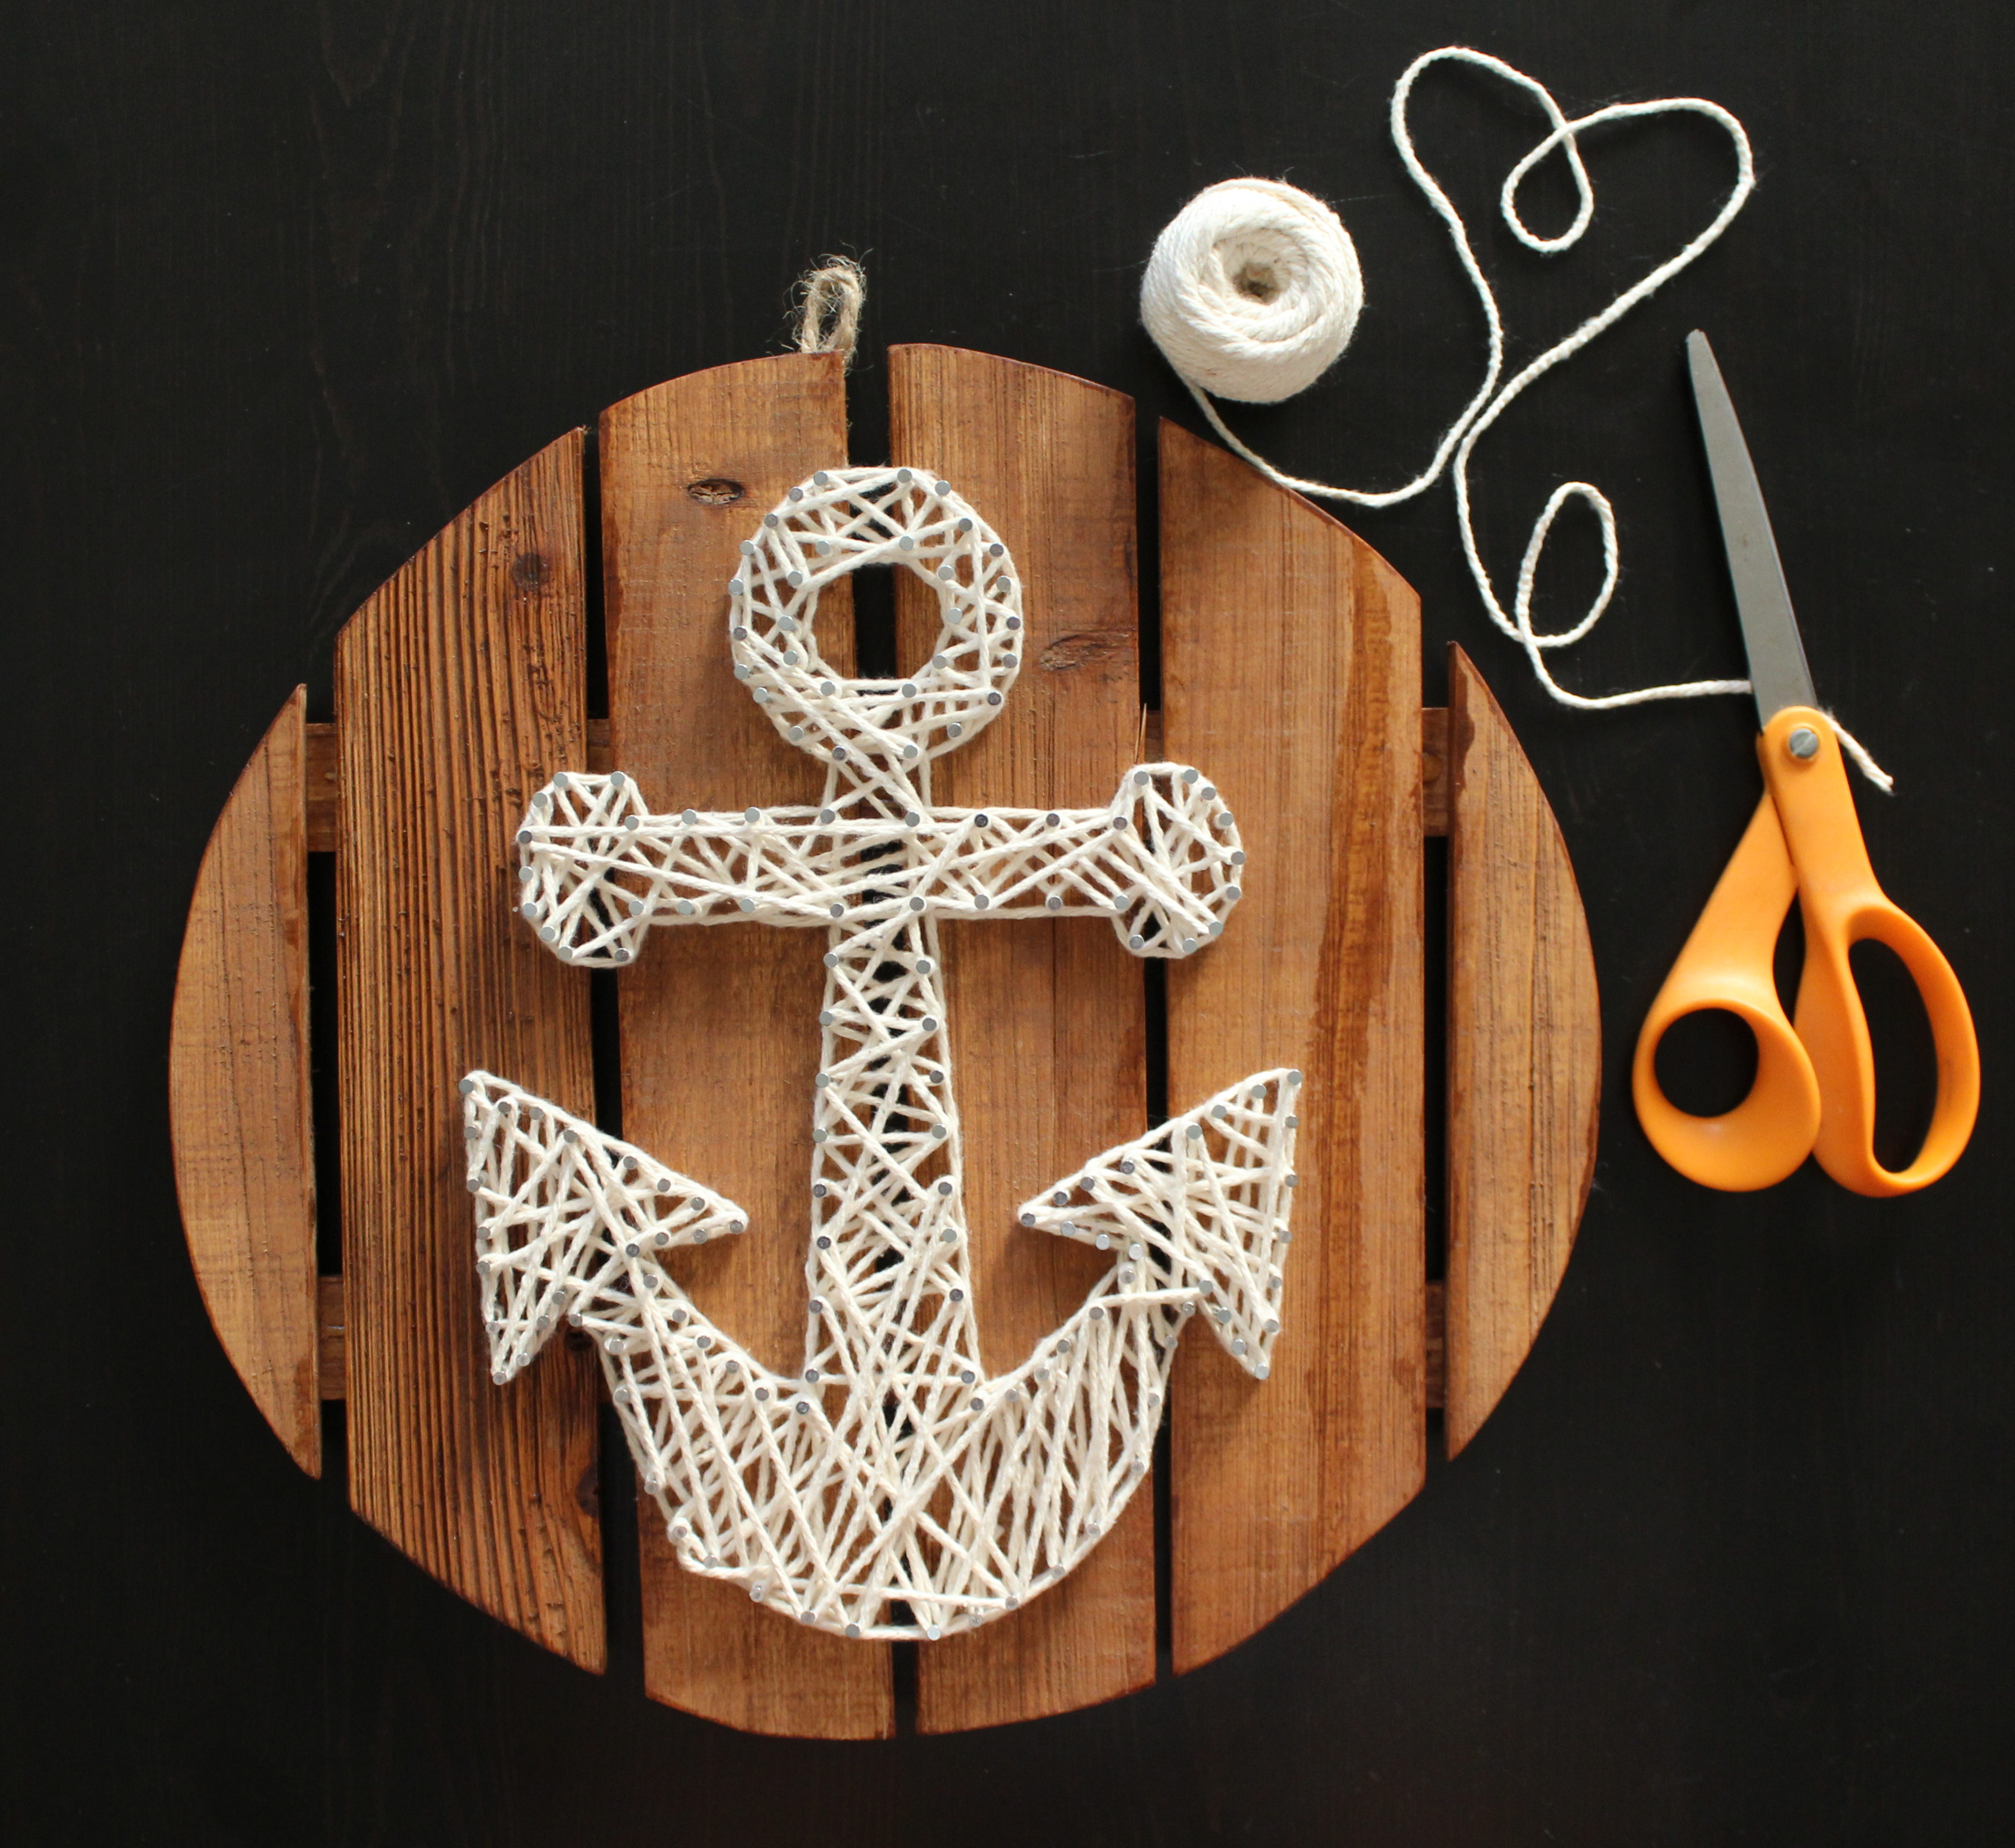
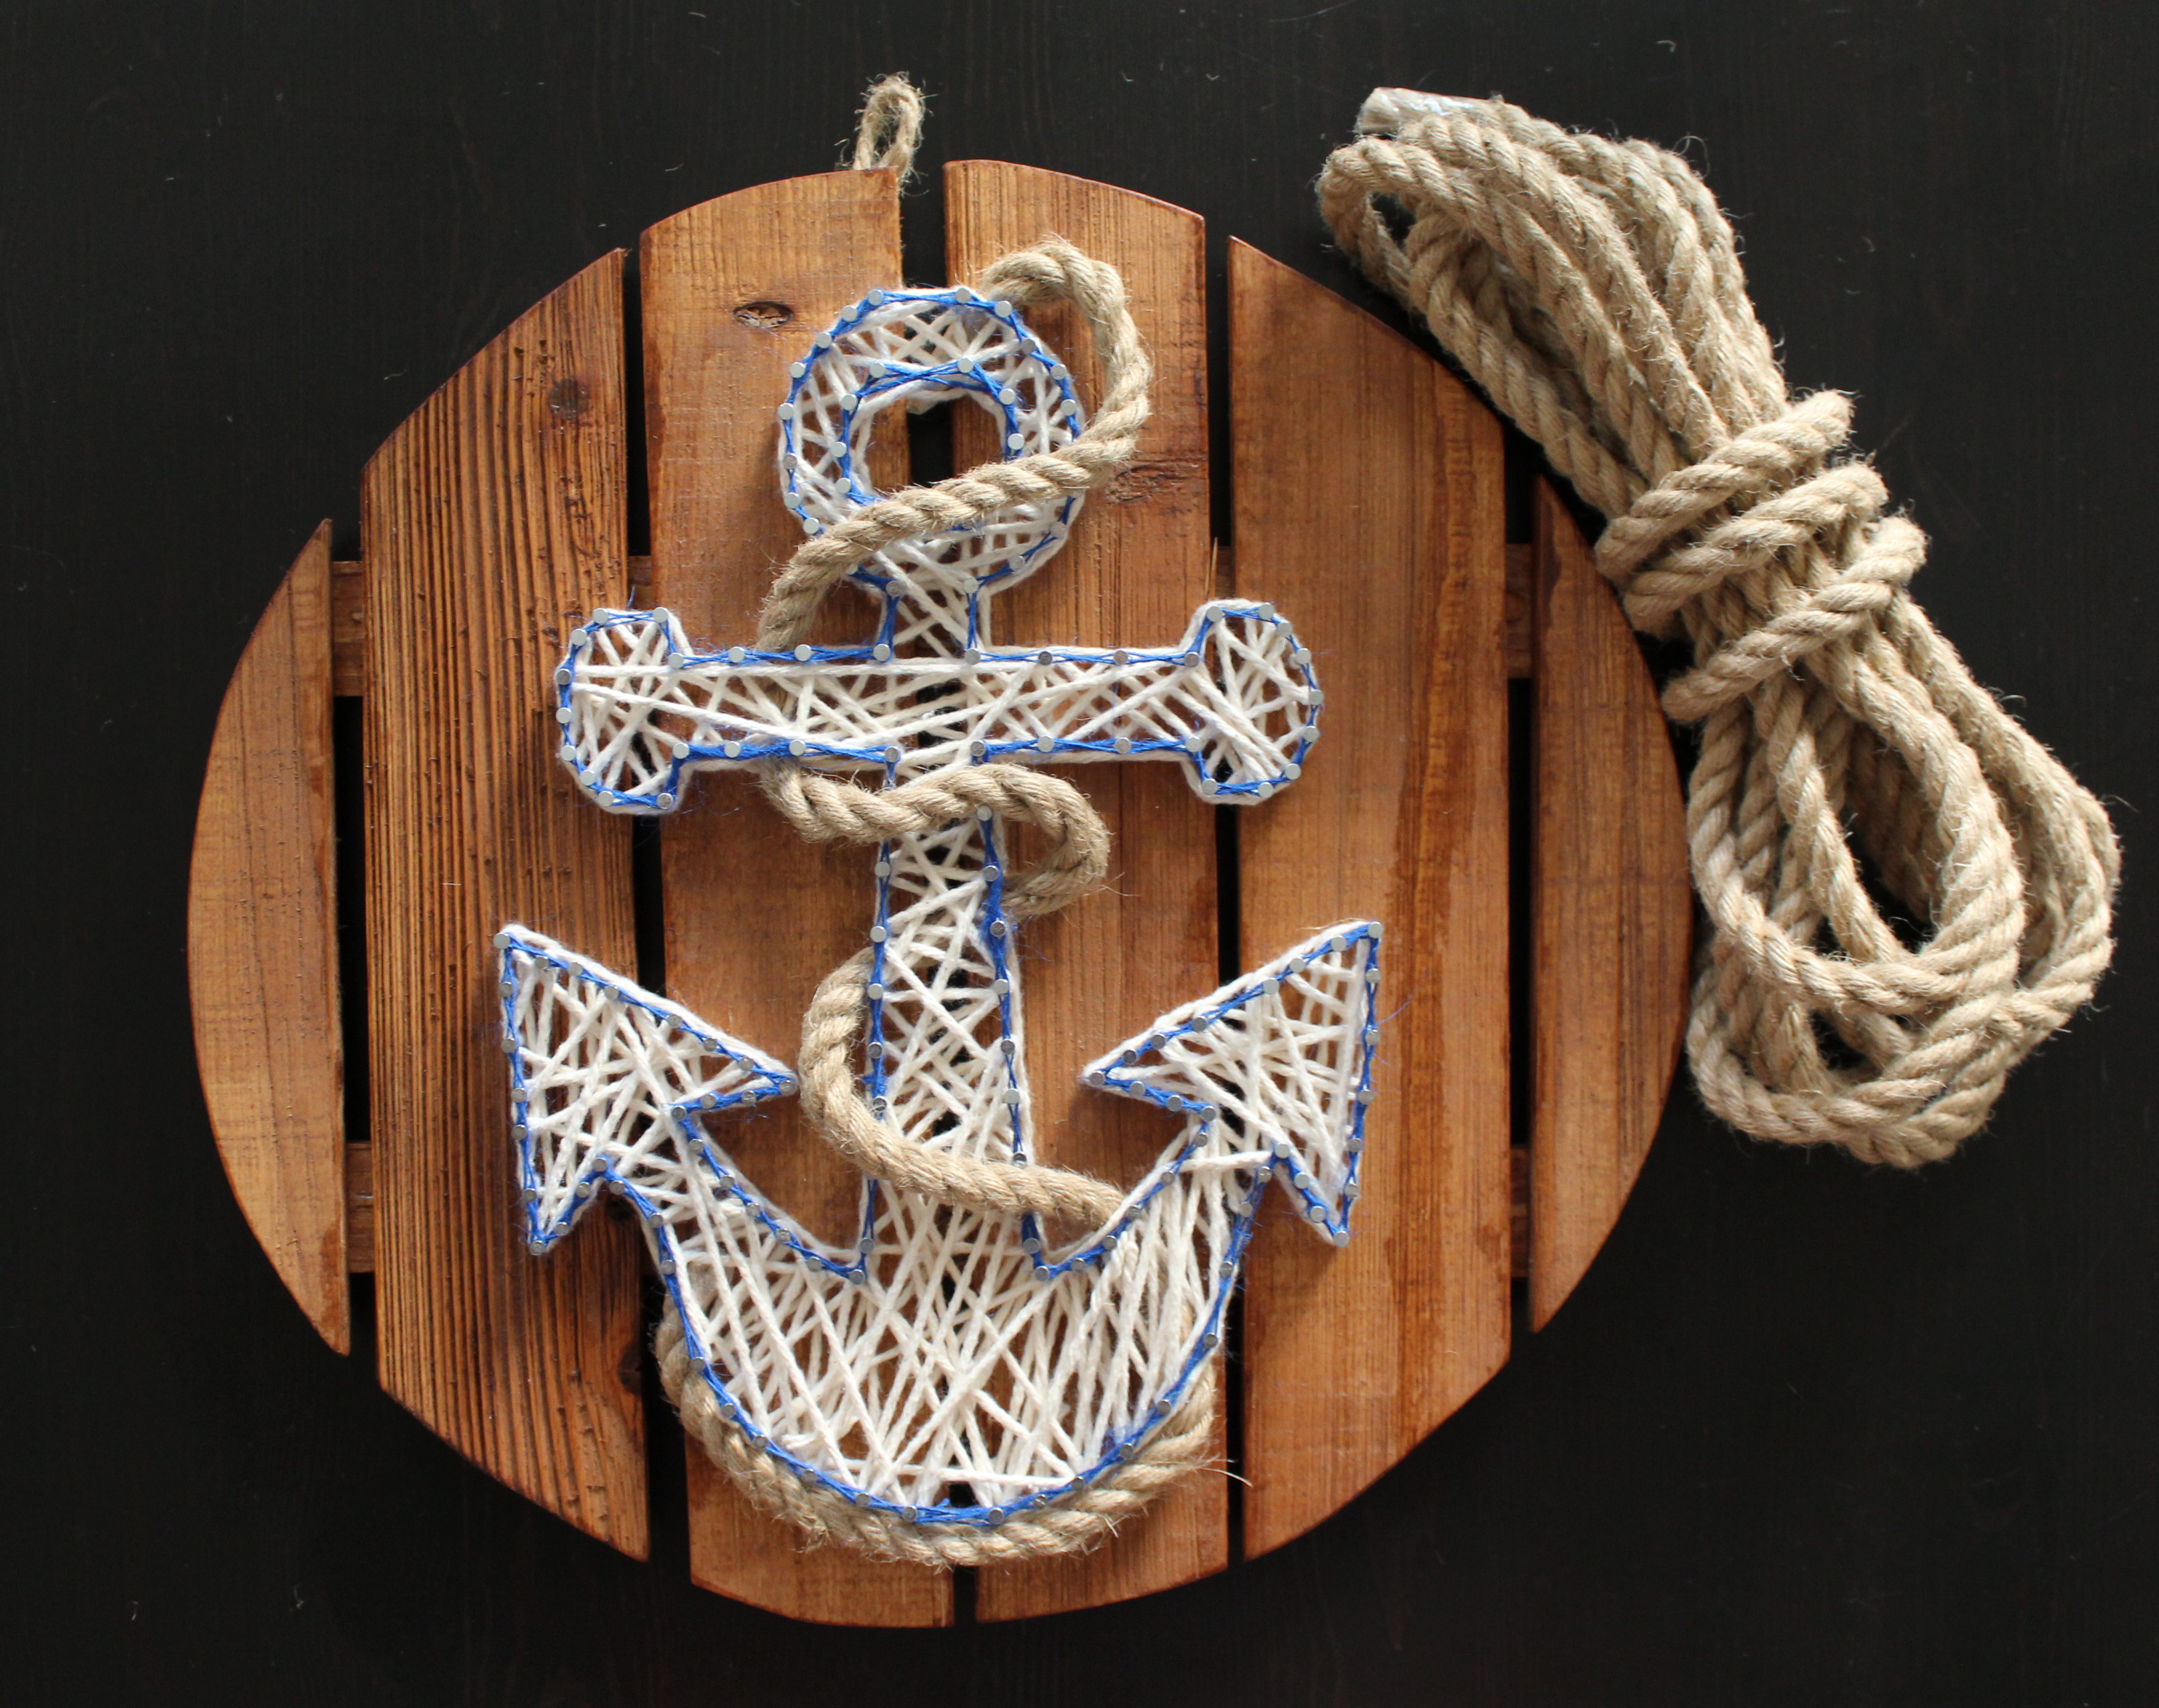
- Begin your twine by tying a knot on one nail and work your way around until you have about 3 layers. Then do the same with the blue twine.
- Once the twine tying is complete, the large rope can be weaved in between and underneath however you prefer.
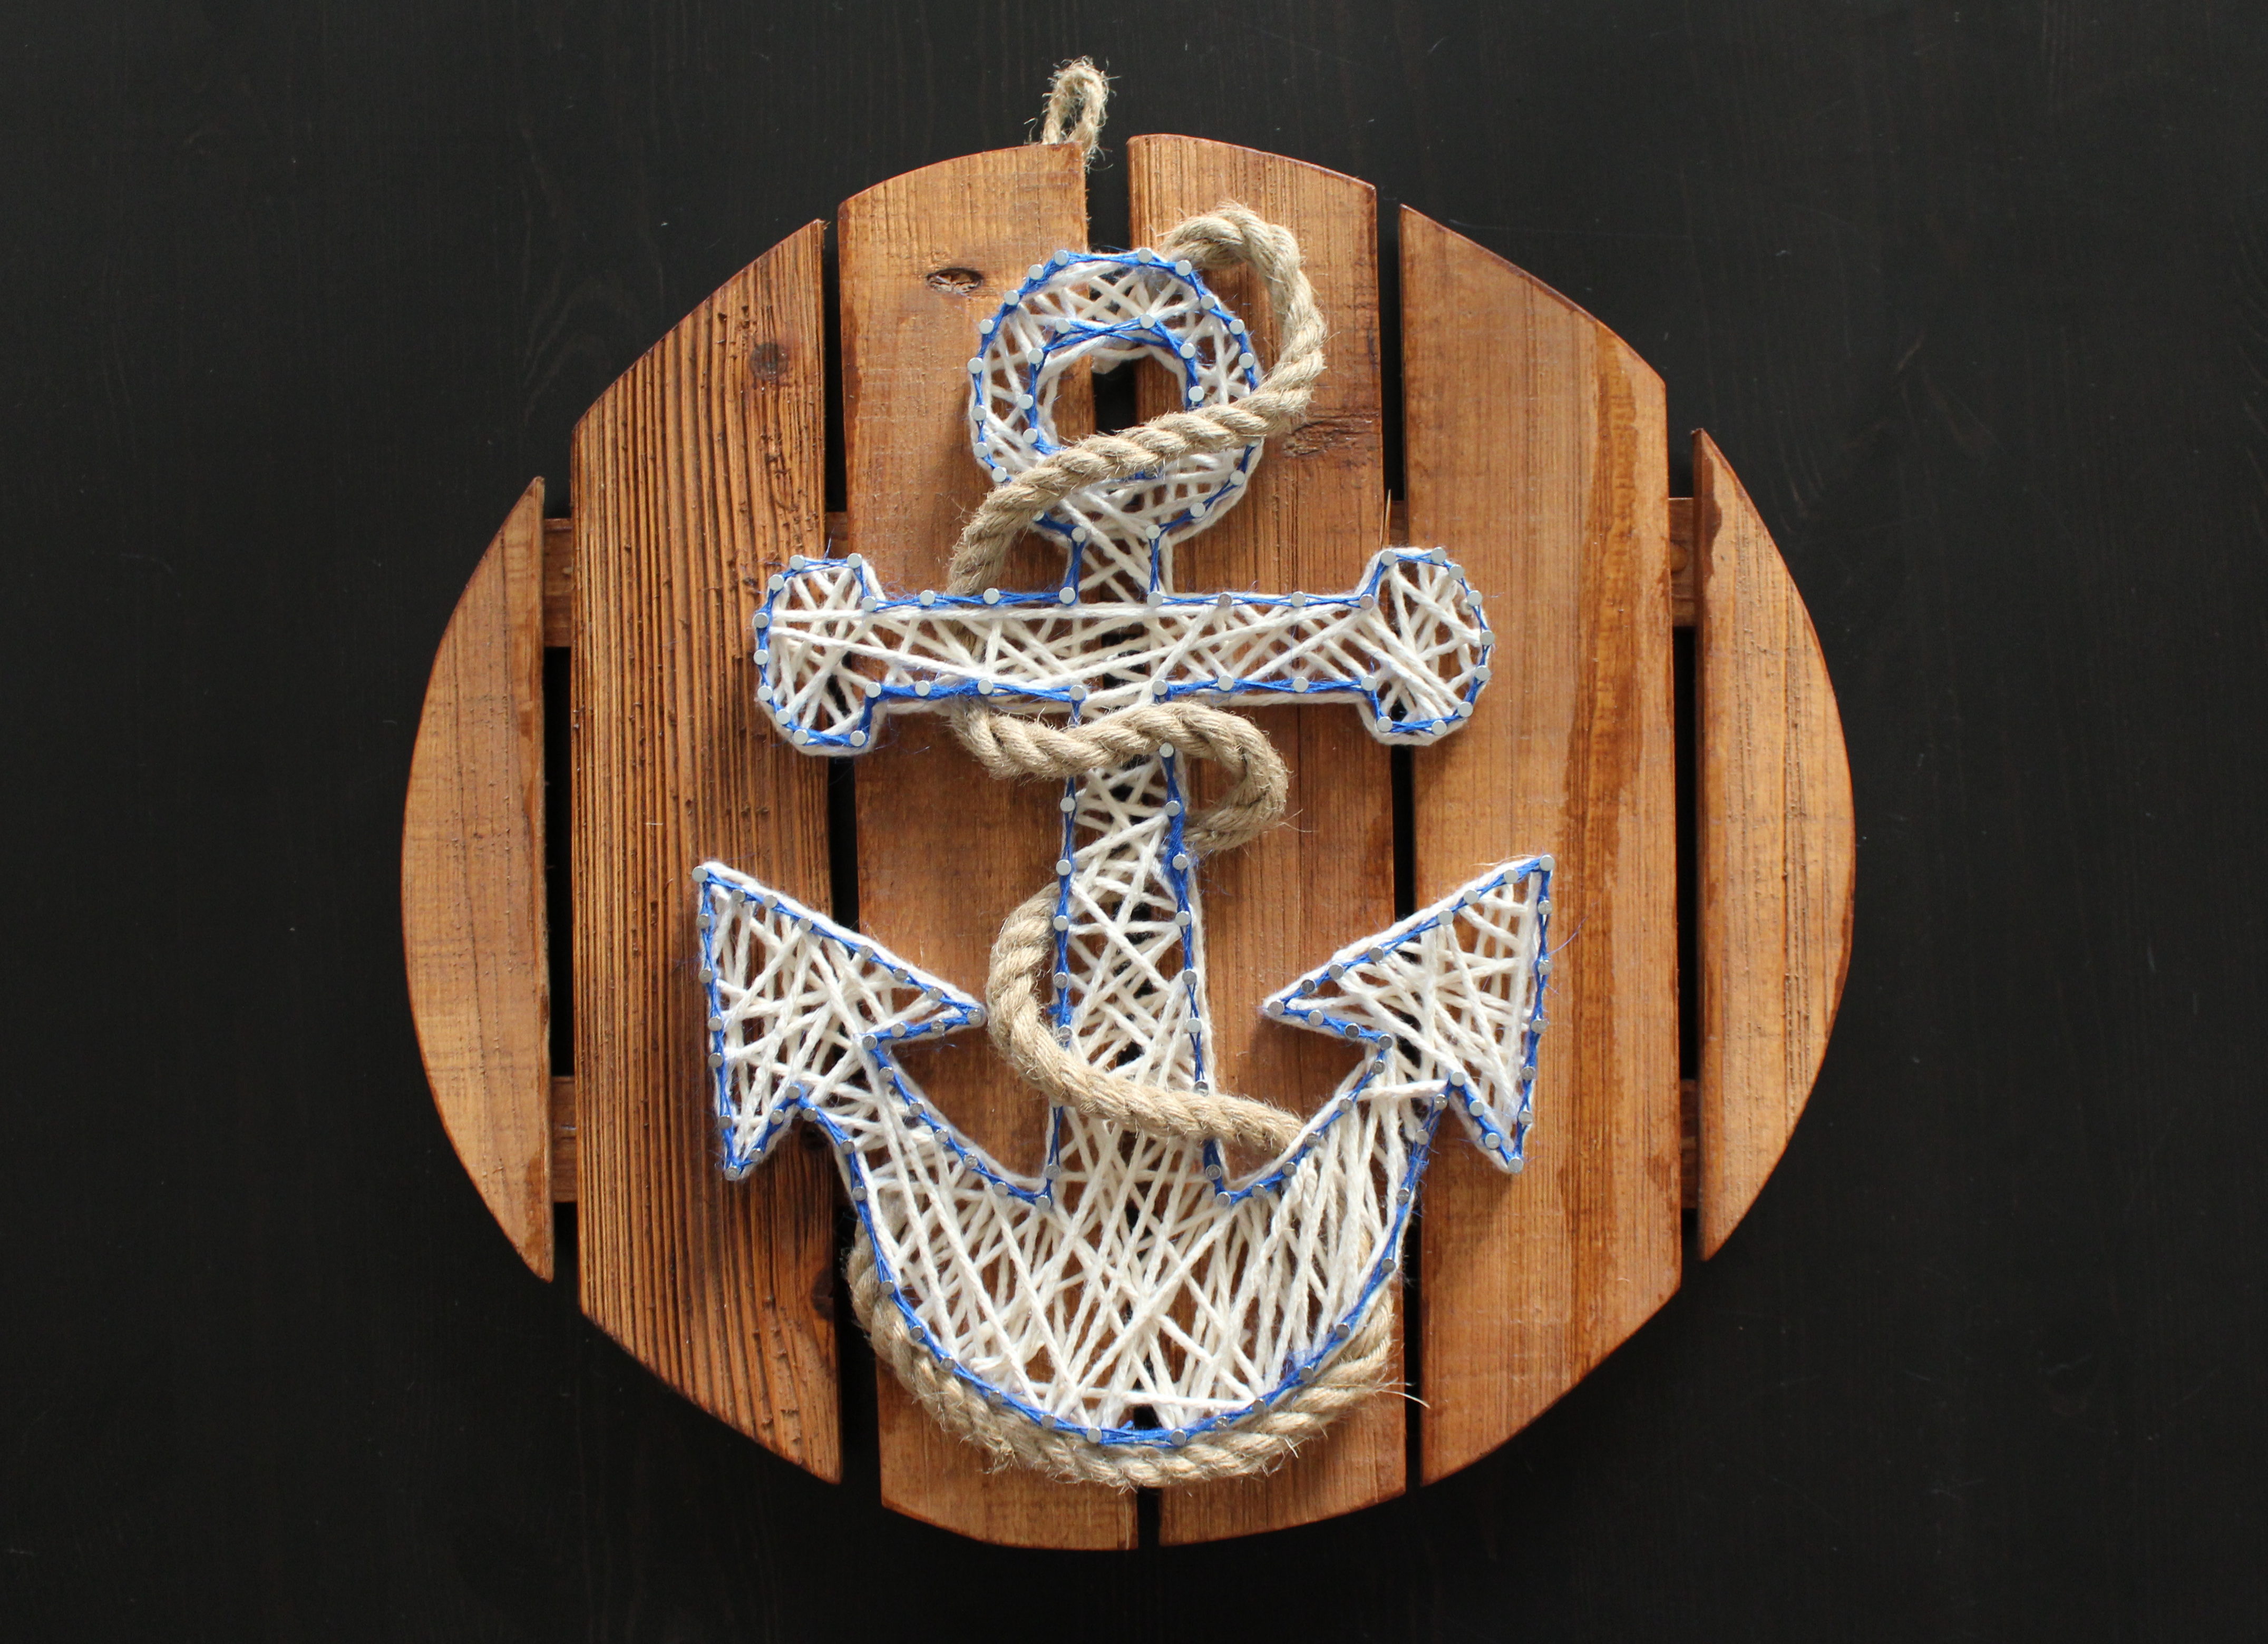
Myles, Let love be your anchor and hope be your sail. xx
*This post contains affiliate links. If you make a purchase using one of these links, I will receive a small commission at no extra cost to you. These commissions help keep this blog running. Thanks!